Enabling GrabFood Self-Serve Integration
The GrabFood integration enables merchants to seamlessly receive and manage GrabFood orders directly within the Xilnex POS system. Once enabled, GrabFood orders are automatically synced into Xilnex, reducing manual entry, minimizing errors, and improving overall operational efficiency.
This integration ensures consistency in menu items, pricing, and tax configurations between Xilnex and GrabFood, allowing for a smooth and reliable order flow from the online platform to in-store operations.

Background
Users who wanted to bind or create a new GrabFood store had to contact the Grab team to request a Store ID. After receiving the Store ID, users manually entered it into the Xilnex Portal to complete the setup.
Change Announcement
Grab originally planned to deprecate this manual process by 31 August 2025. The deadline has now been extended to 30 September 2025.
New Process (Self-Serve Activation)
To align with Grab’s deprecation timeline, the Xilnex Portal now includes a Grab Self-Serve Activation feature. With this update, users can directly retrieve and bind their GrabFood Store ID within the Xilnex Portal.
How to Integrate GrabFood in Xilnex
Navigate to the configuration.
1. Go to [Sales Channel] > [GrabFood] under Third Party Integration.
2. Select [GrabFood] from the list.
3. In the [Store List], all integrated GrabFood stores that have been integrated will be listed. Each store is assigned one of five integration statuses:
Status | Description |
Active | The integration with Grab has been completed successfully. |
Pending | The integration process is still in progress, |
Failed | The integration attempt was unsuccessful. |
Incomplete | The integration could not be completed due to missing information (for example, menu not synced). |
Removed from Xilnex | The GrabFood store has been deleted from the Xilnex. |
How to Set Up New GrabFood Store in Xilnex
1. To integrate a new GrabFood store, click the green [NEW] button located at the top-right corner.
2. A page [Store Setup] will open where you can configure your setup before integrating with GrabFood.
3. Select a Xilnex Store.
4. Choose a Price Scheme to be shown in GrabFood menu.
5. Choose a Xilnex menu profile.

Note: During menu profile selection, Xilnex performs validations before proceeding, such as checking for overlapping active dates and times between menus. In real-world scenarios, only one menu can be active at a given time. These checks ensure that menu scheduling conflicts are avoided prior to integration.
6. Once complete the info above, click [Integrate GrabFood Store] to proceed.
7, The system will then run several validations to ensure all required information is provided.

Validations:
- If no Xilnex Store has been selected, the error message “Please select Xilnex Store.” will appear.
- If no menu profile has been selected from the menu list, the error message “Please select at least one menu profile.” will appear.
8. Once all required information is provided, a new browser tab will open and redirect you to the Grab Portal.
9. Login to Grab Portal using the Grab merchant account.

Note: Only users with Owner or Store Manager roles can proceed with the integration.
10. Upon successful login, the Grab stores associated with your merchant account will be displayed.
11. Select the GrabFood Store from the list and click [Connect] to integrate it with the corresponding Xilnex Store.
12. During activation, always click [Skip This Step]. Since this is a new integration, there are no existing GrabFood menus to export.
13. Next, click [Enable Integration] to start the activation process. The Grab system will begin processing and validating the connection with Xilnex. This may take a few moments.
14. Once processing is complete, the system will return one of the following results.
Result #1: You're all set!
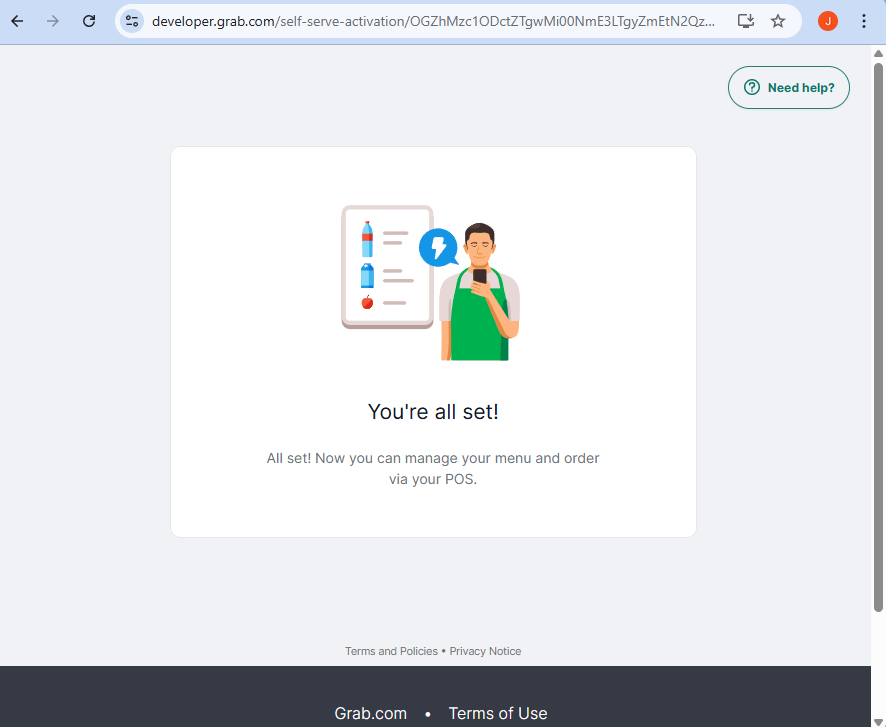
Once you see the confirmation that the integration is successful, everything is set. Return to the Xilnex Portal and click the Refresh Page button to update the status.
Result #2 - Something went wrong
Click [Try Again] to retry the process or alternatively contact Grab Support for assistance if the issue persists.
Status of GrabFood Store Integration in Xilnex
Active
If you refresh the Xilnex Portal page after the Grab integration is complete, the status will update to Active, and the GrabFood Store ID will be displayed.
Pending
Failed
Incomplete
Remove GrabFood Store Integration in Xilnex
There is a [Remove] button on the successfully integrated GrabFood Store.
When selecting [Remove], the system will display a confirmation message:
“This action only removes the GrabFood Store from Xilnex. To fully unbind the GrabFood Store, please contact Grab Support.
Do you want to proceed?”
Currently, Grab does not support unbinding integration directly through the Xilnex Portal.
To fully unbind a GrabFood Store, you will need to:
1. Contact Grab Support to request the unbinding process on Grab’s side.
2. Once Grab has unbind the store, remove the store from the Xilnex Portal to complete the process.
Once confirmation is done, proceed to click on the [Save] button to save the changes.
Self-Diagnose: Troubleshooting Failed and Incomplete GrabFood Store Integration Status
If the integration status is Failed or Incomplete, select [More] and choose [Self-Diagnose] to initiate the self-diagnose protocol to identify and troubleshoot the issue.
Scenario 1
If the integration fails and no GrabFood Store ID is shown in the Xilnex, then the [Self-Diagnose] would prompt the GrabFood Portal to reinitialize the activation process. At this point, just follow the integration process as usual.
Scenario 2
If the integration status shows Incomplete while the GrabFood Store ID has already been obtained and is displayed in the Xilnex the issue is most likely due to a menu validation error. In such cases, the store ID is confirmed as not yet active on Grab’s side. When this occurs, running [Self-Diagnose] will likely prompt the message as below: “A Menu error has been detected. Kindly contact Xilnex Support for assistance."
Please raise a ticket to us and our team shall assist accordingly.
Common Process for Scenario 2
Xilnex team will investigate further to identify the cause within the menu configuration with the root cause given.
1. If the issue occurs in the menu, the user will be advised to update it accordingly.
2. Click [Integrate GrabFood Store] to save the changes and reinitialize the activation process..
Related Articles
Enabling Foodpanda Integration
The Foodpanda integration allows merchants to seamlessly receive and manage Foodpanda orders directly within the Xilnex POS system. By enabling this integration, Foodpanda sales orders are automatically synced into Xilnex, reducing manual entry, ...Enabling ShopeeFood Integration
The ShopeeFood integration enables merchants to receive and manage ShopeeFood orders directly within the Xilnex POS system. Once enabled, ShopeeFood orders are automatically synced into Xilnex, reducing manual input, minimizing discrepancies, and ...NinePay Payment Integration
NinePay is part of the WavPay ecosystem, providing merchants with access to WavPay’s digital payment services. Through its integration with Xilnex Classic POS, NinePay enables merchants to accept a variety of cashless payment methods seamlessly at ...Xilnex-AutoCount - Installation & System Requirements
This section explains how to integrate the Xilnex Retail Management System with the external AutoCount Accounting System to automate data posting from operations to accounting. System Requirements Before you begin integrating Xilnex with AutoCount, ...Grab Campaign & Promotion Configuration
Grab Campaign Configuration To perform GrabFood Promotion Configuration, access to [Sales Channel] and under Third Party Integration , look for [GrabGood] Select [GrabFood Campaigns] from the Sales Section In the [GrabFood Campaigns] form, it will ...
Recent Articles
Managing Lark User Email Mapping in Xilnex for Lark
Overview The Users card matches each Xilnex user to their Lark account by email. This is what lets features like Permission Approvals and Document Approvals deliver Lark cards to the right person. This article covers how to review the mapping and fix ...E-Wallet and Credit Card Payment - Recheck Status & Force Complete
This guide walks you through what to do when a payment goes through on the terminal or e-wallet, but Classic POS fails to commit sales. When Does This Happen? During payment, Classic POS will show a "Connecting to Ewallet party..." or processing ...E-Journal for BIR Compliance (Philippines)
Overview The E-Journal feature generates a .txt file that complies with BIR (Bureau of Internal Revenue) requirements in the Philippines. This feature is available only for the Philippines COM. Users from other countries' COMs will not be able to ...Disconnecting or Reconnecting Xilnex for Lark
This article covers how to disable a template, fully disconnect the integration from Lark, and reconnect it again. Disable a Template Turning a base off only stops that one base, everything else keeps syncing, and none of your existing data in Lark ...Creating a Base in Xilnex for Lark
Overview This article walks you through creating a base for a template, giving end users access to it in Lark, and verifying data is syncing correctly. Xilnex for Lark must already be connected before you start. If the Templates card isn't accessible ...
Popular Articles
Basic - How to create a voucher-coupon
Voucher and coupon definition Voucher can be generated in bulk and can be used once Coupon can only be created one at a time (reusable code) and can be use multiple times Pre-voucher / coupon setup There are 2 things need to be prepared before we can ...Understanding DuitNow QR Payment in ClassicPOS
Introduction This document introduces the DuitNow QR payment feature available in the Xilnex Retail POS, enabling merchants to accept payments conveniently through Malaysia's national QR payment standard. The integration of DuitNowQR simplifies the ...Intermediate - How to Configure and Use Approval Settings in Purchase Orders (PO)
1.0 What is approval setting In general, "approval setting" refers to the configuration or process by which a request, action, or change must be reviewed and approved before it proceeds. The term is often used in business, software applications, and ...Buy 2 for Special Price Promotion
Use Case: Stock clearance, seasonal offers, or spotlight products. From the sample screenshot above, this promotion requires 2 items to trigger. If only 1 Milk Tea is added to the sales list, no discount will apply since the condition of 2 items is ...Creating Delivery Type for Sales in Classic POS
How to Create Delivery Type 1. Access to the [System Configuration] 2. Select the [Sales] section 3. In the [All Outlets] tab, look for the 'Delivery Type' 4. Click on the [Configure] In the Delivery Type Setup form: 1. Enter the Delivery Type. 2. ...